How to Freeze Homemade Cookie Dough for Fresh-Baked Treats Any Damn Time

When people learn of my vast and all-consuming love of sweets, they are often surprised to learn that dessert was largely absent from my childhood. My mother is not a baker, nor a lover of sweet things. There was, on occasion, a box or two of Pepperidge Farm Milano Cookies in the cabinet, but these were reserved for school, and I knew that if I cracked into them at other times, I wouldn’t get them in my lunch, so I executed whatever willpower my 8-year-old self had, and refrained.
It was not easy.
I occasionally tried to make cookies on my own, but it did not occur to me to use a recipe or ask for help, and the result was rubbery discs, speckled with whatever I had available: chocolate chips, rainbow sprinkles, and one time, rather misguidedly, dried parsley flakes.
I did not successfully bake a cookie until after I started dating Rand. I can’t remember how it came about, but I recall in the early days of our relationship (when we were young and carefree about our consumption of carbs) we regularly devoured plates of freshly made chocolate chip cookies and mugs of milk, in between our make-out sessions.
This would, of course, ruin all other cookies for me, and at some point, if it wasn’t homemade and still warm from the oven, well … who am I kidding? I would still totally eat it. But less quickly than I would its freshly-baked counterparts.
Traveling as often as we do, the time to make cookies is often scarce, and having all of the ingredients on hand can be difficult (my pantry is always stocked, but I rarely come home from a trip to find eggs in my fridge). And as much as I have faith that Rand and I could put away an entire batch of cookies on our own, I realize that we probably shouldn’t, since we aren’t as young and firm-bodied as we once sort of were.
The solution to this problem was a simple one: freeze homemade cookie dough into individual dollops, and bake them at our leisure later. We could bake just a cookie or two at a time – never having to rely on willpower to limit our consumption. When friends came over, I could have dessert ready in 15 minutes, without doing more work than pre-heating the oven. And if I had more than one variety of cookie dough in the freezer, I could take specific orders – two snickerdoodles, three chocolate chips, one molasses ginger – to the amazement of our friends.
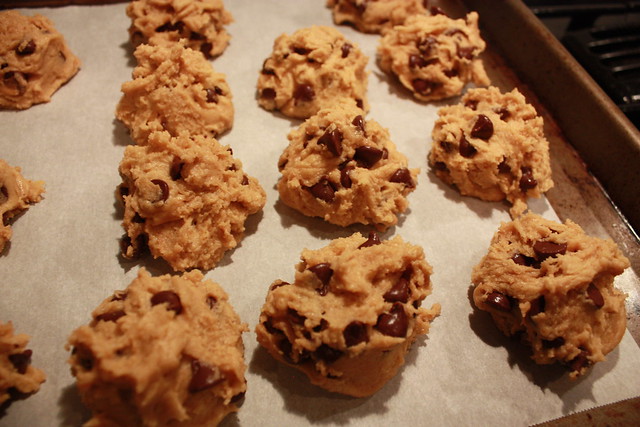
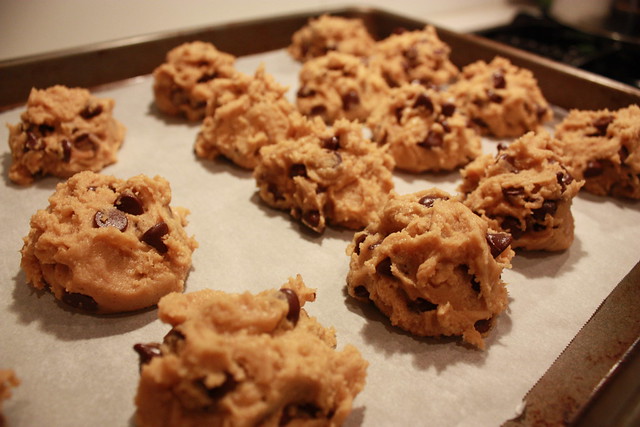
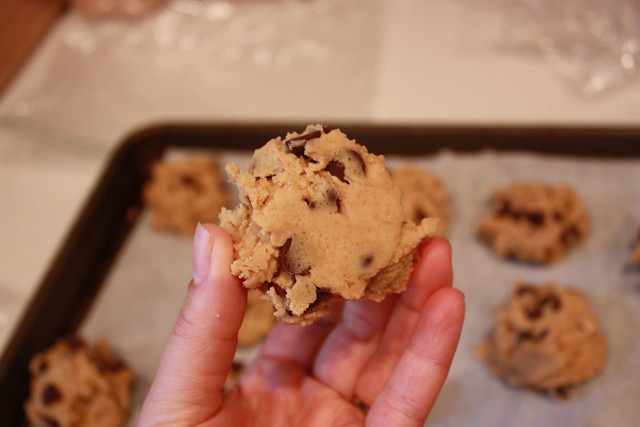
The soon-to-be-frozen dollops.
This practice has, I can say without hyperbole, changed my life. And it has made coming back from a trip, when we are tired and exhausted and want to do nothing but snack in front of the TV, that much butter better. Here is how to freeze cookie dough for later consumption, along with my absolute favorite take on the chocolate chip cookie (it includes BROWNED BUTTER, you guys).
—————
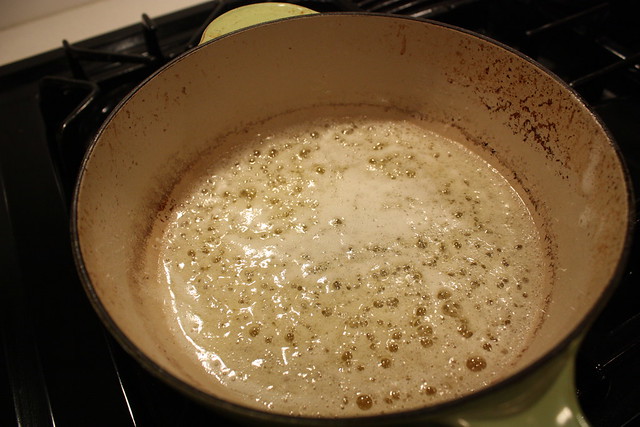
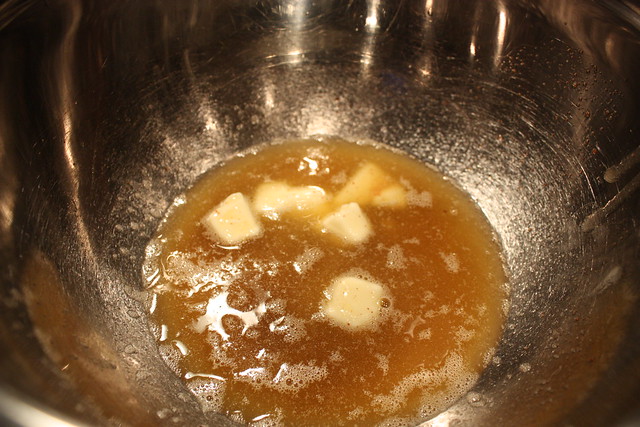
First, brown some butter in a light-colored skillet (if you use a dark-colored skillet, you can’t actually tell if the butter is browning). Ignore the copious amounts of stains on the inside of said skillet, which your husband insists is from “seasoning” the pan.

The butter will start to foam up, which admittedly freaked me out a bit the first few times. Just swirl the butter around and it should, after a little while, stop foaming and turn a golden brown. It will smell nutty and toasty, like fresh popcorn, and you will be tempted to pour it all into a glass and drink it. This is inadvisable.

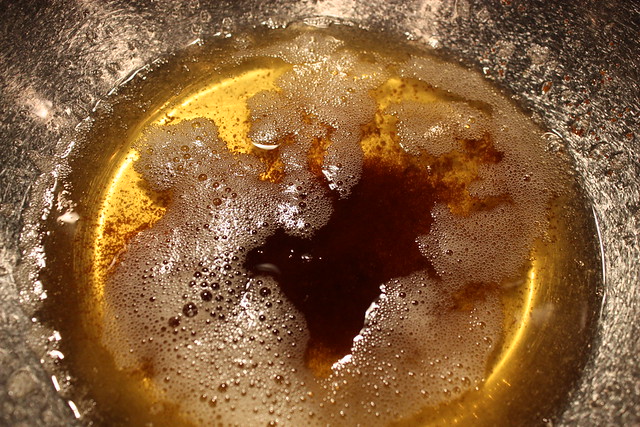
Notice that the butter is turning a golden-brown tint. You’ll see some specks at the bottom of the pan, too – you’ll want these to be brown, and not black.
Instead, pour the melted butter into a heat-proof bowl. There should be a few brown specks at the bottom – these are browned milk solids, and will transform your cookies from “good” to “mashing-as-many-in-your-mouth-as-quickly-as-you-can” good.
Add some unmelted butter to the browned butter, and given them all a little swirl until all the butter is melted.
Add some brown and white sugar, eggs, vanilla, and salt to the butter, and whisk it for 30 seconds. I neglected to take a photo of me putting the eggs in, but you should include those, too.
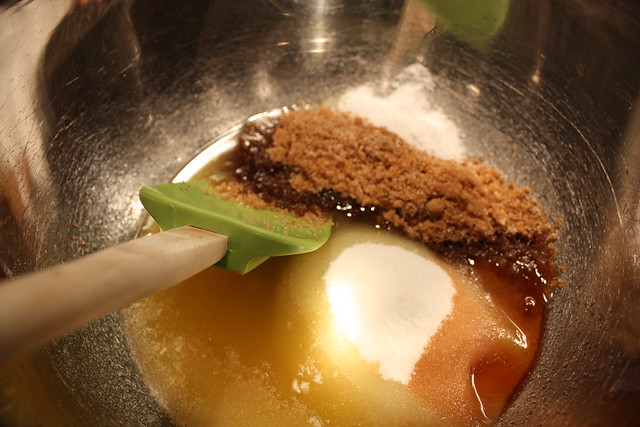
After you whisk for 30 seconds, you need to let the butter-sugar-egg misture rest for 3 minutes. You’ll need to repeat this two more times. Whisk. Rest. Whisk. Rest.
(Pro-tip: if you act like the whisking is really hard work, you can justify eating more cookies.)
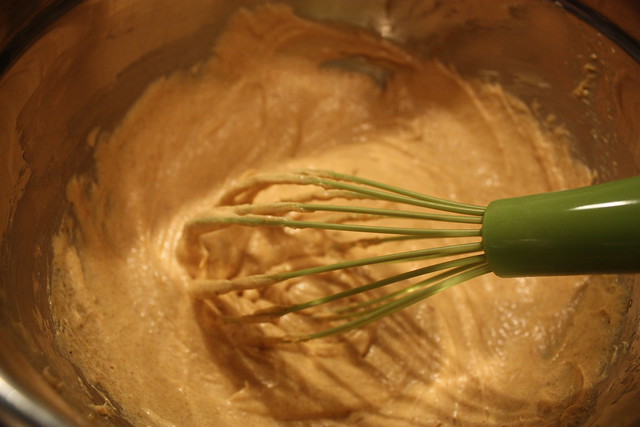
The mixture will become smooth and glossy, and it will smell like caramel frosting, and it would taste exactly like caramel frosting, too, if you could taste it, BUT YOU ABSOLUTELY SHOULD NOT TASTE IT BECAUSE SALMONELLA.

I know I should not eat thee …
(Confession: I totally tasted it. It was amazing)
Mix together some baking soda and flour, and fold this into your I-really-shouldn’t-be-eating-this-raw-butter-sugar-egg mixture. Then pour in the chocolate chips.

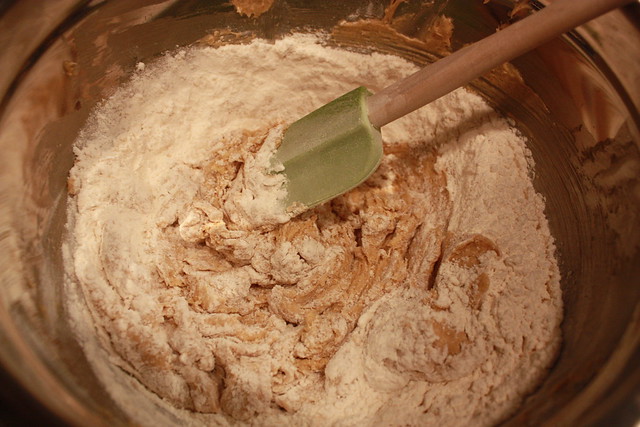

This is blurry because it’s an “action” shot.
And do not, under any circumstances, call your husband into the kitchen so the two of you can eat the dough raw, straight from the bowl, like you used to.

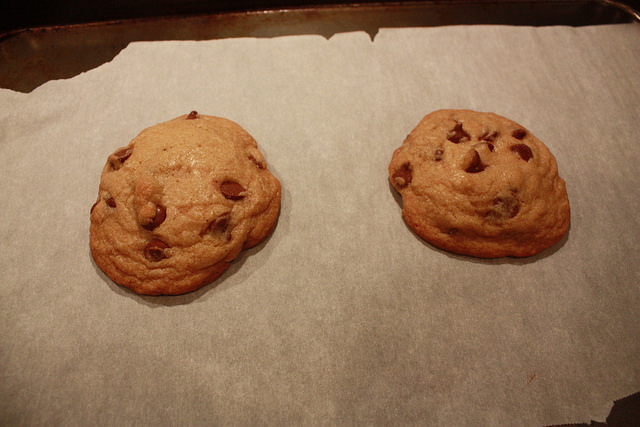
Bake two cookies for him, immediately, because love.
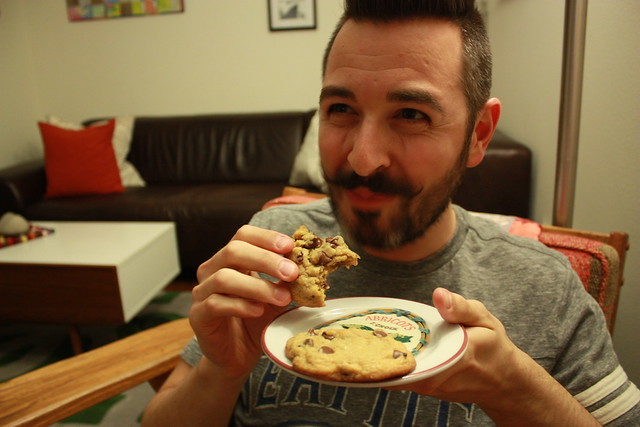
Mustachioed man in a Seahawks T-shirt. Commence heart-bursting in 3, … 2, …
Take the rest of the cookies, and place them on a cookie sheet (or a smaller pan, if your freezer is small) lined with parchment paper. Since these are going in the freezer, and not the oven, you don’t need to worry about spacing them out too much.
Drape the whole thing with plastic wrap, if you are so inclined, and place the pan in your already-full-how-am-I-gonna-fit-anything-else-in-here? freezer overnight.
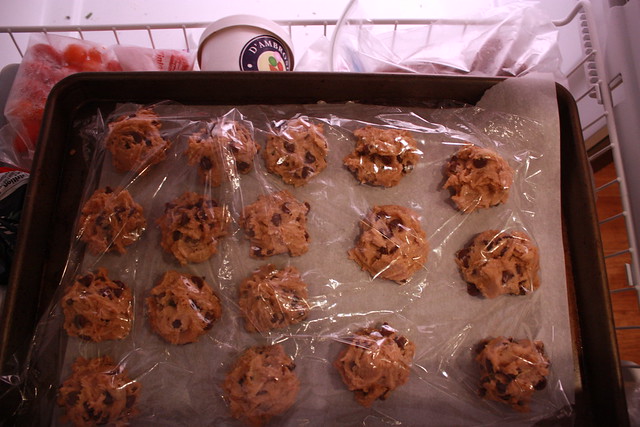
The next morning, the dough should be frozen solid. Place it into plastic zip bags, or Tupperware. I like to squeeze all the air out of the bags, and then double-bag them, so that the cookies don’t start tasting like the freezer. (Though, admittedly, this has never once been a problem.)

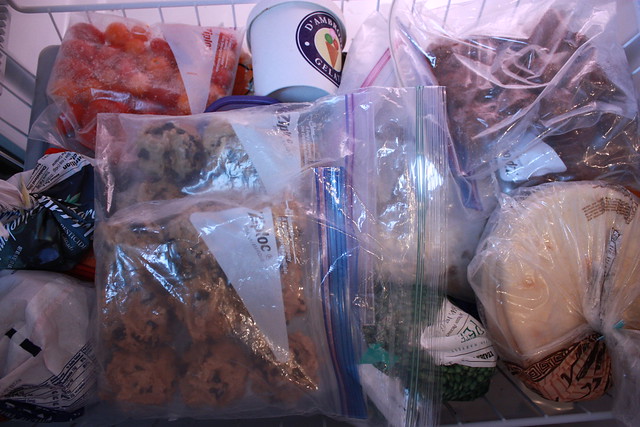
Ignore all the other stuff in my freezer, including an inexplicable bag full of mini tomatoes, and yes, another bag of frozen cookie dough (of the chocolate truffle variety).
Here’s the thing – and it’s the most important thing you need to know. Since your dough is frozen, regular cooking temps and time won’t work (the dough will remain in a frozen lump in the middle if you don’t adjust anything- trust me on this one). I’ve found that most average-sized frozen cookies should be baked at 325 degrees for anywhere from 12-15 minutes. In my oven, 14 minutes is just about perfect.

I’ve found that they last a good two or three months in the freezer, and quality remains pretty darn great.
That’s it. Fresh baked cookies, any time you want. Even if you are tired. Even if you’ve been on the road for weeks and the only thing in your fridge is a lump of wilted green stuff that was once parsley. Like I said, it’s changed my life. And ruined me for all other cookies.
—————
Browned Butter Chocolate Chip Cookies (adapted from America’s Text Kitchen’s take on the Tollhouse Cookie)
Ingredients:
- 1 3/4 c all-purpose flour (8.75 oz)
- 1/2 tsp baking soda
- 14 Tbs unsalted butter (just under 2 sticks)
- 1/2 c granulated sugar (3.5 oz)
- 3/4 c brown sugar (5.25 oz)
- 2 tsp Kosher salt (or 1 tsp regular salt)
- 2 tsp vanilla extract
- 1 large egg
- 1 large egg yolk
- 1 1/4 c (7.5 oz) semi-sweet chocolate chips (I used Ghirardelli semi-sweet chocolate chips)
Preheat oven to 375 degrees (if you plan on baking them immediately), and line a large cookie sheet with parchment paper (most recipes will tell you to line two sheets and rotate them halfway through, but this has never worked for me without scorching the bottoms).
Whisk together flour and baking soda in a medium-sized bowl and set aside.
Melt 10 tablespoons unsalted butter in a light-colored skillet over medium high heat. Continue cooking for an additional 1 to 3 minutes, while swirling the pan, until butter is golden brown and has a nutty aroma (the butter may foam up a bit – don’t freak out if this happens – just give the pan another swirl). You should see dark brown (not black) flecks in the butter. Pour it into a heatproof bowl, add remaining 4 tablespoons butter and stir until melted.
Add both sugars, salt, and vanilla to butter and whisk until incorporated (up until this point, it’s entirely safe to dip your finger in the bowl and taste the alchemy at hand). Add egg and egg yolk, and mix thoroughly, about 30 seconds. Let mixture stand for 3 minutes, then whisk again for 30 seconds.
Repeat this process of whisking and resting two more times. The mixture will become glossy, smooth, and shiny, and look a lot like caramel frosting.
Use a spatula (a whisk is insufficient here) to mix in the flour/baking soda mixture until just incorporated. Fold in chocolate chips.
If baking immediately:
Dollop dough onto cookie sheet, leaving roughly 2-3 inches between scoops, and bake for 8-10 minutes (the middle should still look soft and a little glossy, but the edges should look set, and even a bit golden). Let them rest on the cookie sheet for a few minutes before transferring them to a cooling rack for a few minutes more. Supposedly you should let them cool thoroughly before eating, but that’s just ridiculous.
If freezing:
Place cookies on parchment lined cookie sheet or pan (since you aren’t baking them, you can space them closer together). Drape cookies with plastic wrap, and freeze overnight. Remove from tray, place cookies in sealable plastic bags, and return to freezer. When you want to bake them, there is no need to thaw – just place them on a parchment lined cookie sheet, and bake in a preheated oven at 325 degrees for 10-15 minutes (ovens vary – watch them the first time and make note of how long it takes! 14 min is perfect in my oven). If you bake them at a hotter temp than that, the outside of the cookie will spread too far, and the inside will remain raw. Which isn’t ideal (though I’d probably eat it, anyway).